
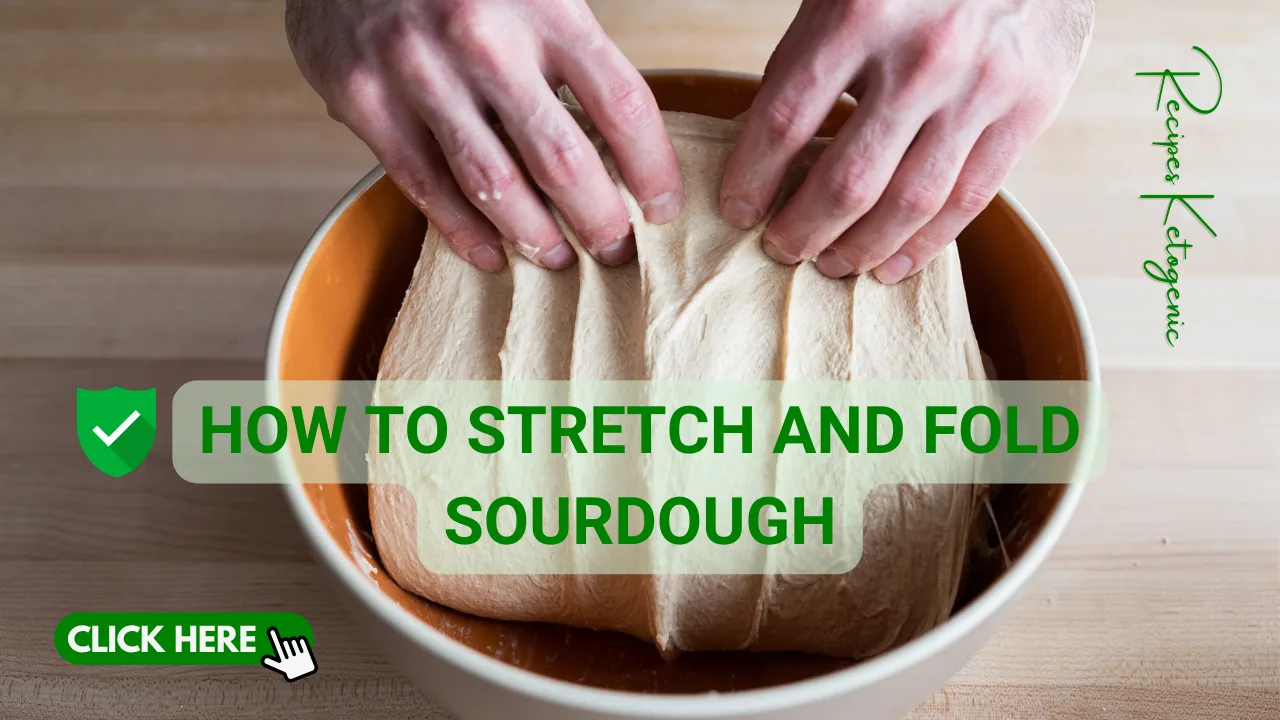
Stretch & Fold Sourdough
Bakers use the stretch-and-fold technique to improve the quality of their sourdough bread. When it is done correctly, So it will strengthen the gluten and gently add air to the undiluted dough. I talk more about this in my book Artisan Sordo Made Simple.
But for now: The benefit is increased volume, higher height, and a more open interior piece if you’re lucky. Moreover, it is the most satisfying sensory experience. (Who doesn’t like bread?) The technique can be done on the countertop or directly in the bowl. The latter option is what I’m showing you here.
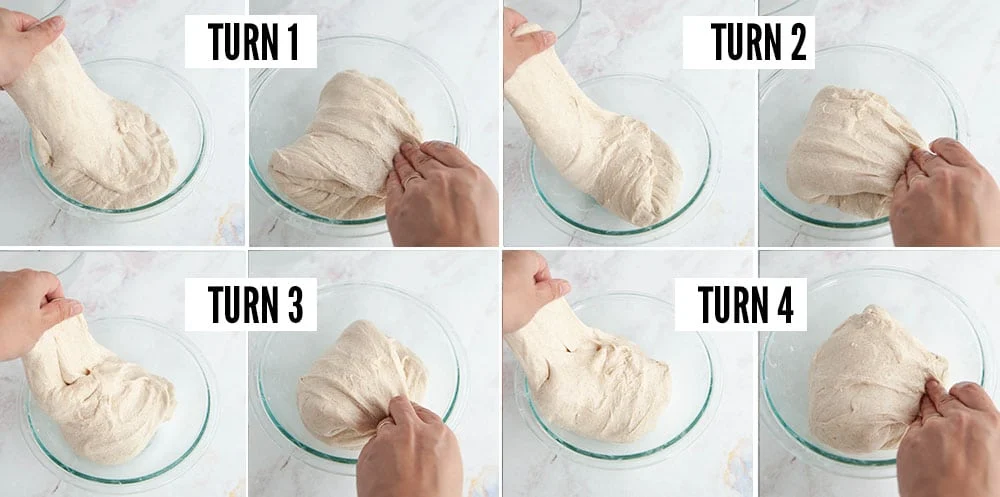
1-Stretch the dough upward
With lightly wet fingertips, grab a portion of the dough and stretch it upward.
2-Fold the dough
Fold the dough over toward the center of the bowl.
3-Stretch and fold
Give the bowl a one-quarter turn and repeat: stretch the dough upward and fold it over toward the center.
4-Stretch and fold again
Continue until you have come full circle to complete 1 set or 4 folds around the bowl.
Baker’s Tip: The dough will feel elastic and loose after the first fold. The dough will begin to tighten as you proceed, typically around the third or fourth fold. The dough will change from dense and flat to plump and jiggly after two to four sets. You’ll know the method is effective that way. You can now give the dough some time to rest so that the gluten has more time to relax. You can shape it and get it ready for its final indication before baking once it has adequately risen. This last proof is essential because it gives the dough time to develop its taste and structure.
How Many Times Should You Stretch And Fold the Dough?
Stretch and folds are completed in sets.
The first set is usually done about 30 minutes into the bulk rise.
Then, you’ll complete up to 4 additional sets spaced about 15 minutes to 1 hour apart, depending on the dough’s flexibility and your baking schedule. After the final set of stretch and folds, allow the dough to rise until it has roughly doubled in size. This process enhances the dough’s structure and prepares it for shaping, ensuring a light and airy final product.
Baker’s Tip: As a general rule of thumb, the sets for high hydration doughs (wet dough) can be spaced closer together because the dough is slack; about 15-30 minutes apart. For low-hydration doughs (dry, stiffer dough), the gluten will need more time to relax, about 30 minutes to 1 hr. Otherwise, it won’t stretch properly. As The dough’s texture and elasticity are key indicators of its readiness for shaping or further fermentation. Pay attention to how it feels; a well-hydrated dough should be pliable and slightly tacky, while a stiffer dough will require more effort to stretch and shape effectively. Always, these are suggested timeframes. Watch the dough and not the clock! Clock! Each batch can vary based on factors like temperature and humidity, so trust your instincts and adjust as necessary. Remember, patience is essential in the baking process, as it often leads to a more flavorful and well-structured final product.
So, Is It Worth It?
Absolutely!
Once you get the hang of it, you’ll find ways to incorporate the stretch and fold technique into your baking routine. And with practice and repetition, you’ll notice changes in the look, taste, and feel of the sourdough bread. Just remember: not all doughs require it. However, it’s easy, practical, and super effective when applied as an optional step. It’s a valuable tool for enhancing dough structure and gluten development, especially in artisan breads. So, experiment with it and see how it transforms your baking results over time!
Baker’s Tip: When you stretch and fold the dough, it may (or may not) look similar to mine. This is normal. It might be stiffer or even looser; it all depends on the specific recipe you’re following. For reference in the video above, I’m using a dough that is approximately 70% hydration. This means that for every 100 grams of flour, there are 70 grams of water, which contributes to the dough’s texture and handling properties. Just remember that practice and patience are key; each batch will teach you something new about the process.